Render Note
Render Note is a special case of front-end scripting which allows rendering custom content inside a note. This makes it possible to create custom dashboards, or to use a custom note editor.
The content can either be a vanilla HTML, or Preact JSX.
Creating a render note#
- Create a Code note with the:
- HTML language for the legacy/vanilla method, with what needs to be displayed (for example
<p>Hello world.</p>). - JSX for the Preact-based approach (see below).
- HTML language for the legacy/vanilla method, with what needs to be displayed (for example
- Create a Render Note.
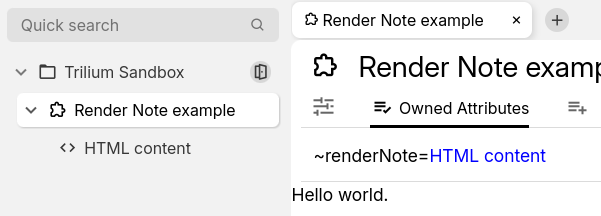
- Assign the
renderNoterelation to point at the previously created code note.
Legacy scripting using jQuery#
A static HTML is generally not enough for Scripting. The next step is to automatically change parts of the note using JavaScript.
For a simple example, we are going to create a render note that displays the current date in a field.
To do so, first create an HTML code note with the following content:
<h1>Current date & time</h1>
The current date & time is <span class="date"></span>
Now we need to add the script. Create another Code, but this time of JavaScript (frontend) language. Make sure the newly created note is a direct child of the HTML note created previously; with the following content:
const $dateEl = api.$container.find(".date");
$dateEl.text(new Date());
Now create a render note at any place and set its ~renderNote relation to point to the HTML note. When the render note is accessed it will display:
Current date & time
The current date & time is Sun Apr 06 2025 15:26:29 GMT+0300 (Eastern European Summer Time)
Dynamic content using Preact & JSX#
As a more modern alternative to jQuery, it's possible to use Preact & JSX to render pages. Since JSX is a superset of JavaScript, there's no need to provide a HTML anymore.
Here are the steps to creating a simple render note:
Create a note of type Render Note.
Create a child Code note with JSX as the language.
As an example, use the following content:export default function() { return ( <> <p>Hello world.</p> </> ); }In the parent render note, define a
~renderNoterelation pointing to the newly created child.Refresh the render note and it should display a “Hello world” message.
Refreshing the note#
It's possible to refresh the note via:
- The corresponding button in Floating buttons.
- The “Render active note” keyboard shortcut (not assigned by default).
Examples#
- Weight Tracker which is present in the Demo Notes.